design cred?

Today, Etta and Claire’s nursery (in our old house) is featured along with several other twin nurseries in a post on Parents Magazine’s website. That nursery was a real labor of love, and everything in it besides the cribs and bedding was handmade, reused, or repurposed. It will always hold a special place in my heart as the place we first brought our babies home. Timehop just reminded me the other day that two years ago was the girls’ first night in their room in their cribs– they were ready at 3 months, but this mama slept on a futon in there for a week! Time has flown! Side note: does this mean I can add “design work featured by Parents Magazine” to my resume? Ha!

A year ago we said goodbye to our little rental house and moved in to a place of our very own. When we moved, the girls’ room was the first priority– I wanted them to feel comfortable and at home right away. The biggest difference between their first nursery and their current toddler room is that we left the navy floral wallpaper behind, and had their walls painted a lovely lavender. We’ve also ditched the crib sides for toddler beds (love that our WalMart BabyMod cribs converted so easily!), and added things like pillows and comforters now that we don’t have to worry about them smothering in their sleep (seems like just yesterday swaddling was my gospel and pillows were the enemy, now they have actual bedding!). I gave you a peek when we first moved in, but here’s their room as it looks today. Like, right this minute– I found out that the Parents post had gone live and tidied up a bit so I could show you how the nursery has changed to suit two two-year-olds.

View from the doorway into their room. The abstract painting was made by one of my husband's colleagues. The tent is from Ikea.
View from the doorway into their room. The abstract painting was made by one of my husband’s colleagues. The tent is from Ikea.

Continue reading “design cred?”

the bufflogals’ new room

We’ve been in our new place a few months now, and it’s finally getting into a state where I’d be willing to show you guys what it looks like. I figured I’d start with the cutest room: Etta’s and Claire’s.

Here’s the before:

The walls and ceilings of every single room in the new house were beige. We had all of them painted!

And here’s the after:

IMG_5886

If you’ve seen the girls’ room in our old house, there’s not a lot different in terms of actual stuff, but with light purple walls, the whole space feels so much lighter and more fun than the dark blue floral wallpaper in our old rental.

IMG_5889

IMG_5892
Here you see a prime example of my half-assed gallery wall methods. Some blogs will give you a tutorial for measuring and laying out a mathematically perfect gallery wall. I am not that girl. I just sort of eyeballed it. I think it turned out OK. The Vonnegut quote canvas is up a little high, but it has to be to keep little hands from grabbing at it when changing babies on the changing table.
IMG_5896
My husband built the toy shelf, and the changing table was a dresser found by the curb in our neighborhood.

IMG_5895

IMG_5905
I made this origami lampshade, and it’s one of my favorite things in the room.

bufflogals in toyland

20130712-152806.jpg
The picture of the girls playing that inspired this post. Etta is playing with a Janod pounding toy, and Claire is playing with a Plan Toys shape sorter.

A friend asked on Instagram if I’d consider doing a post about the bufflogals’ toys, and her wish is my command.

She noticed that the gals’ toys are generally wooden and rather atypical from what is generally on the market for babies and toddlers. This is by design. I want our home to be peaceful and happy, stimulating but not overstimulating, full but not cluttered. And if it’s not too much to ask, I want the stuff we bring into it to look good! This extends to the choices we make for our girls’ toys. While I have only begun to educate myself on things like Montessori and Waldorf, my general inclination and instinct is that their toys should be about them using objects to educate and enjoy themselves, not just being entertained by lights and music and bells and whistles. For us, this means nothing that lights up or makes sounds, pretty much nothing battery operated, and very little plastic. Again, this isn’t because of any particular ideology, but just the result of me following what feels right for me and my kids. I’m not in any way saying other sorts of toys are bad, but this is just where we’re at and what we want for our home.

Etta and Claire have two main play spaces, their room and our den. In each space, it was important to me that the toys be arranged where they could get them out themselves (and eventually, put them up themselves), and to have things displayed and accessible rather than buried in a bin under a million other things. Things they can see actually get used, whereas things in a giant pile get forgotten.

20130712-152752.jpg

Here you see the girls’ play space in our den. The shelf and tent are both from Ikea, and my mom found the chairs at a flea market. They have a little white table that goes with them, but it’s being used as a side table until we find an actual side table to go next to the couch. Also pictured is the Little Wheely Bug, which I found for a steal at a local consignment sale. Etta’s just now able to really start to use it at 15 months, and it’s the smaller size. The green-sided walker was a Christmas gift, but I have to say, I’m not as crazy about it as I thought I’d be, as it seems more prone to tipping, though they still sit in front of it and play with it. I REALLY love the walker wagon Claire’s kneeling with, which is a brand called Janod from Oompa.com, which along with Amazon is one of our main toy sources.

20130712-152818.jpg

Here’s a closer view of the toy shelf. You can see the small Plan Toys shape sorter, a Janod puzzle, a couple of Melissa and Doug sorters, some Ikea pots and pans, and our collection of musical instruments. Etta demonstrates one of her favorite activities, taking all the books off the shelf.
20130712-152826.jpg

This is the contents of the musical instrument box. Most are Hape, purchased via Amazon. The shaker eggs aren’t actually toys but legit musical instruments, but the girls love them.

20130712-152853.jpg
I really love these alphabet blocks from Janod.
20130712-152911.jpg
The Janod walker wagon in action. As you can see, it can support Claire’s weight, and even without anything in it, is super stable for kids just starting to walk, not prone to tipping.
20130712-152938.jpg
We’re big fans of this collapsible tunnel, a gift, which folds nicely when we’re not playing with it.
20130712-152959.jpg
Here the girls are playing with our one and only noisy toy, the flowers, which are Lamaze brand. You can see the Hape shape sorter and some Melissa and Doug food. Our Ikea baby gym, now useful as an object to pull up on, is in the background.
20130712-153027.jpg
Little Wheely Bug in action, with a push from sister.
A rare exception to my no-plastic rule: this Little Tykes rocking horse. It's perfect for little toddlers because it's low enough that they can get on and off themselves, and the seat has a back, which keeps them on it. And I think it's not bad looking.
A rare exception to my no-plastic rule: this Little Tykes rocking horse. It’s perfect for little toddlers because it’s low enough that they can get on and off themselves, and the seat has a back, which keeps them on it. And I think it’s not bad looking.

IMG_5596

Here you can see the girls’ very messy room, and the toy shelf their daddy built for them. In the bin on the bottom left are wooden blocks that belonged to me as a child, and in the bottom right are little things we’ve collected along the way, like Ikea stacking cups, a Melissa and Doug pull toy, their Kathe Kruse dolls, and their Taggies toys. You can also see some soft books, a Melissa and Doug bead maze, a Skip Hop stacker pull toy, and an Ikea stacker toy. (Also, please note that Claire has pulled herself into a kneel, a big deal, which is why this picture was snapped in the first place.)

Basically, what I look for in a toy is this:

  • Is it kid powered? If it requires batteries, I don’t want it. (I took the batteries out of these toy keys before I ever gave them to the girls. They still love them.)
  • Is it used BY the kid, or does the kid just watch it go?
  • Does it help hone skills or encourage creativity or imaginative play?
  • Does it make noise? I’m fine with instruments the girls use to generate noise, but I don’t want to hear bad midi files of classical music. I’d rather put on my old iPod, which I’ve loaded up with tunes for the kiddos.
  • Is it possible to find this made of wood or other natural materials?
  • And, generally, is it fairly gender neutral? I’m fine with the girls playing with dolls, etc, as they get older and ask for such things, but in the meantime, I see no reason to push them toward gendered objects.

Some brands we like: Hape, Manhattan Toy, KidKraft, Plan Toys, Janod, Melissa and Doug, Haba.

A few people who have visited our house have asked how we got all the grandparents and other relatives on board with this plan. The truth is, I grew up with these sorts of toys, so my parents were all about it from the start, and everyone else has been pretty happy to shop from the Amazon wish list I keep constantly updated for Christmas and their first birthday.

time flies: a nursery grows up

It’s been months since I posted. It turns out life with twins as a grad student is a little busy, and then you add in the holidays, and you end up with a bit of a hiatus. I also think I’ve sort of been stuck in this rut where, unless a post is some sort of profound meditation on life and parenthood and whatnot, I don’t post it, and frankly, inspiration isn’t easy to find for the sleep deprived whose days are an endless cycle of feeding, changing, snuggling, and playing with babies. So, I’m going to try to get back into posting with less pressure on myself for every post to be some sort of major epiphany.

I figured I’d start with showing you the girls’ room lately, which has gone from a baby space to a space that better functions as a twin toddlers’ room. We’ve changed it around a lot to meet their needs as they are now very nearly ten months old. I know. Two months away from ONE YEAR. It’s insanity how the time has both crept and flown. (You can find the original nursery reveal here.)

I wanted the girls’ room to be more of a play space as they are now starting to be mobile and into everything, and I wanted them to have a safe space to explore. They got a lot of awesome toys from friends and family for Christmas, so we desperately needed some toy storage. Luckily, my husband is a super handy guy, and he built something amazing after seeing a few of my ideas on Pinterest.

To make space, we took out the futon and put in a secondhand chair. I will say, I am SO GLAD we had the futon for the first 8 months. Just to be able to lie down in there, or to rest the babies on either side of me in Boppies and feed both at the same time, was wonderful. I highly recommend a bed or couch in a nursery.

Anyway, here’s the space now, with before and afters for comparison.

Then:

P1000512

Now:

IMG_0592

Then:

P1000517

Now:

IMG_0597
Here’s a closeup of the new toy storage, built by my awesome husband!

IMG_0559
The girls can crawl right up and grab blocks and toys out of the bottom bins, and if they’re sitting up, they can reach the shelf. As soon as they’re pulling up, it will be even more accessible. It was important to me that the toys be in view so they could easily see their options and get them for themselves. I had a feeling this would work better than a box or bin, because stuff on the bottom of a bin would be forgotten and never played with.

Then:

P1000504
Now:

IMG_0587
Here you can see the bucket we got to store stuffed animals, as well as one of my favorite things in the entire room, the canvas with the Vonnegut quote. It was a gift from a friend I met through Twitter, a “you survived” gift after all I went through getting the gals into the world. It is from a story in which a character is delivering a baptismal speech for twins, so it’s super apt. It says, “Hello babies. Welcome to Earth. It’s hot in the summer and cold in the winter. It’s round and wet and crowded. On the outside, babies, you’ve got a hundred years here. There’s only one rule that I know of, babies– You’ve got to be kind.” I think it’s a great rule.

Overall, the girls have the best-decorated room in our house, and we still haven’t bought a single new piece of furniture beyond the cribs, which were a gift from their grandparents. As I type, the girls are playing in the floor and I’m sitting in the chair.

baby room reveal and BIG update

BIG NEWS: Etta and Claire will be born tomorrow! Our c-section was originally scheduled for this coming Monday, 4/2, but at my appointment this morning, my blood pressure was elevated, I had started to retain a lot of fluid, and Claire wasn’t as reactive on the monitoring as the doctor would like her to be. My doctor said my body and the babies were telling her that it’s time for them to come out. Initially she was talking about getting them out today, but Claire perked up a bit with further monitoring, so we bought ourselves until tomorrow morning, first thing.

I’m glad, because we still had a lot to do: finishing touches on the girls’ room, finishing thank you notes for shower gifts, straightening up the house a bit, and packing a bag for the hospital. In fact, right after the doctor told us tomorrow would be baby day, I said to Jon: but we have to finish the room and I have to take pictures so I can blog it before they come!!! Clearly I’m an insane internet weirdo. But hey: check out our babies’ cute room!

This is the view standing in the doorway of the room. I didn’t set out to have a themed room, but it quickly developed a color palette based on the crib skirt and pillow fabric, and we ended up with a bit of an animal thing going on. What I am most proud of about the room are all the handmade touches, by me and by other folks who love Etta and Claire, and of all the stuff that we already had that we were able to repurpose for the room. The only new furniture we bought were the two cribs, which are BabyMod from WalMart and were a gift from my family. The white dresser, from IKEA, we already had, the little yellow table used to be a nightstand in our guest room, the futon was in our living room, the white tables on either side of it were in our bedroom, and even the rug, which strangely matched perfectly, we already had from IKEA.

This is the view from in front of the bathroom door. Bonus Tinycat sighting! The purple dresser/changer is one of the coolest repurposed items in the room. Our friend Sean found the solidly-built dresser by the curb while walking his dog and carried it home for us. Jon refinished it, and I found the cutest green knobs on sale for half off (which made them $1.50 each) at Hobby Lobby. It’s chock full of our cloth diapers! The four animal paintings were painted by my dad after some he saw in a catalog. They were the first animal items we got for the room, which is what led to the unofficial theme.

I knew right away that a traditional rocker or glider wasn’t going to work with two babies, but wanted a comfy place to nurse and snuggle. So we moved a futon out of our living room, and it fit great! This way one of us can sleep in the room with the babies if we want, and if anyone is ever crazy enough to want to come stay with us, we still have a space for guests to sleep. Tinycat also thinks it’s a great nap space. Everything hanging over the futon is something we already had somewhere else in our home.

I already mentioned my DIY mobiles and origami lamp and re-made vintage lamp in previous posts.

Another awesome handmade touch in the room are these name prints by my awesome friend Christen, whom you may remember from our maternity photo shoot. She’s not just a super talented photographer, but makes adorable prints, which you can purchase from her Etsy shop. I love that they don’t match exactly, but go together just perfectly!

And that’s the room! I can’t believe that after tomorrow, we’ll have BABIES in those cribs!

how to make a simple crib skirt

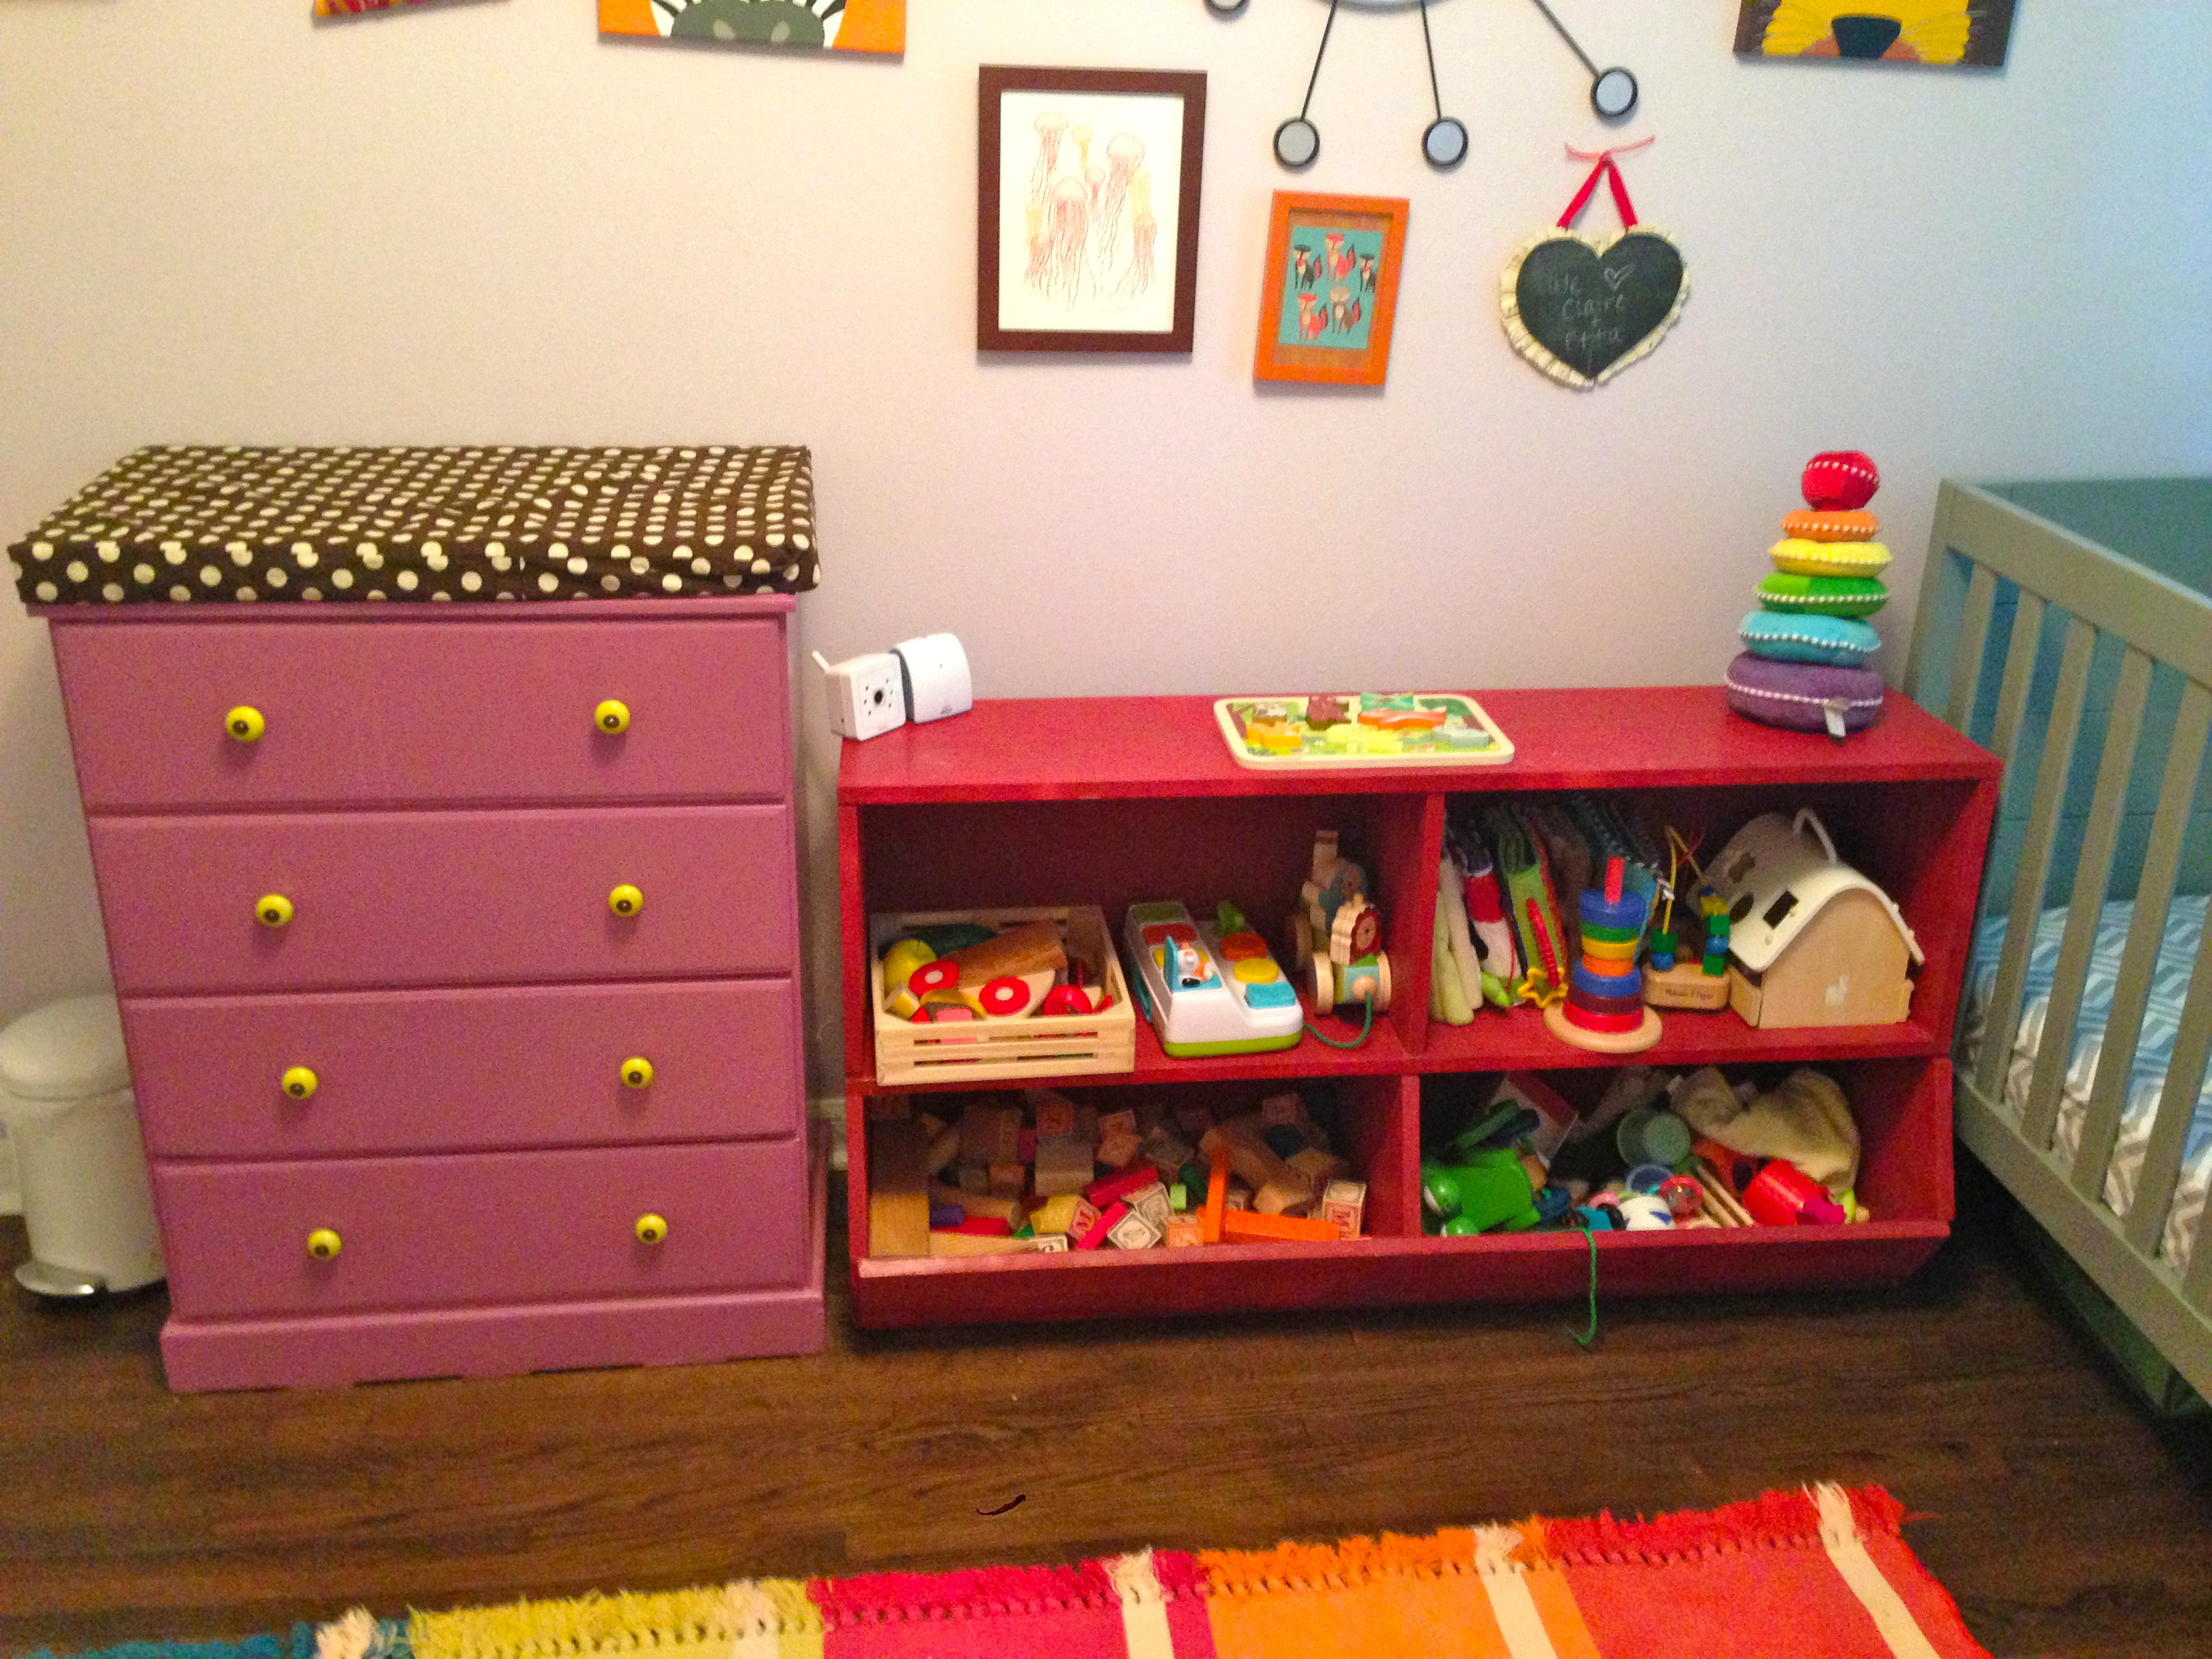
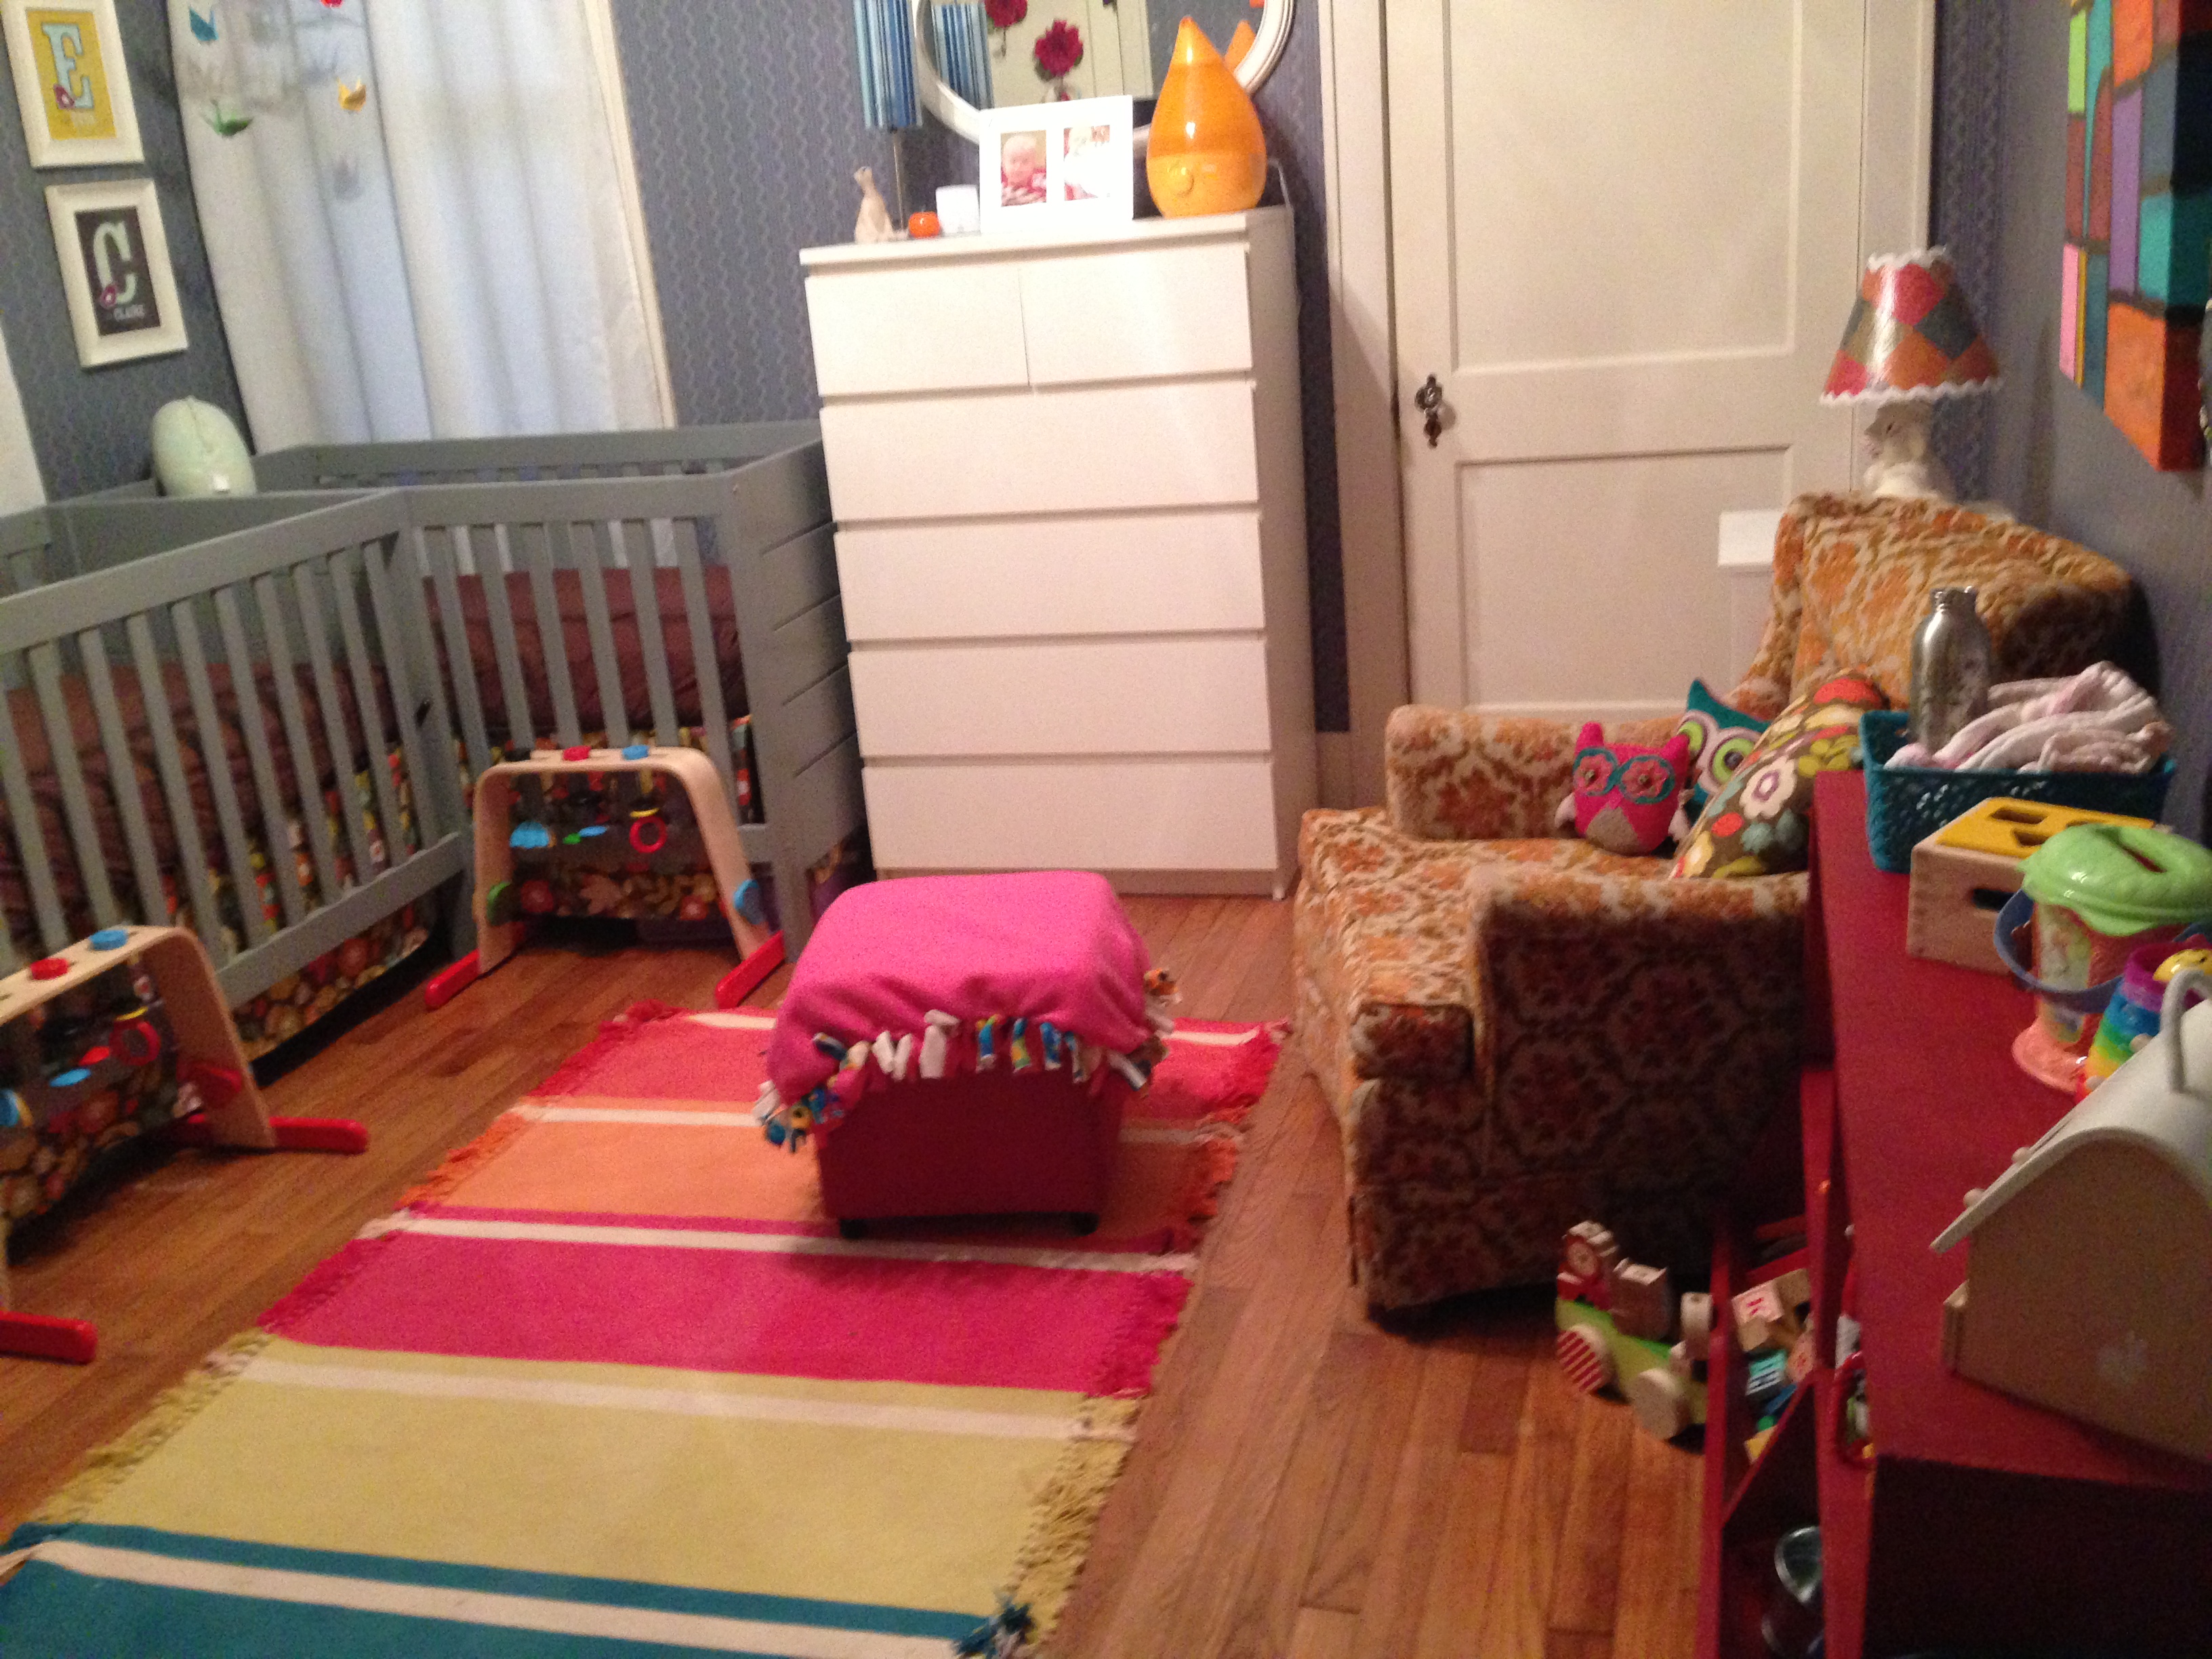
Baby bedding is a weird racket. Most of the cute stuff seems to come in sets, but the sets include things that may or may not kill your baby in her sleep, like crib bumpers. And they’re awfully matchy-matchy, as if you need curtains, sheet, bumpers, quilt, and skirt to all be perfectly matched. Personally, I prefer things that “go” rather than match. And the matching sets are often SO babyish, completely unable to grow up with a kid into early childhood. My goal with the twins’ room has been to have a room that is girly but not princess pink, to choose things that they won’t grow out of before they’re potty trained, and to use as many unique, handmade touches as possible. So I decided to make my own crib skirts. I think they turned out great:

I initially followed a pattern for the first skirt, found parts of it confusing, redundant, or unnecessary, and decided to simplify the process for the second skirt. I figured other folks might be interested in a super easy tutorial of my method for making a modern crib skirt, so here it is: how to make a modern crib skirt. There are no gathers, no pleats, noting complicated. If you can cut and sew a straight line, you can do this, I promise. Also, I took the trouble to make this skirt with French seams, encasing all the edges of the fabric, so a serger is not necessary for keeping your crib skirt from raveling in the wash. It should be sturdy enough to last for years.

Materials:

  • For the “deck” or the part that goes under the mattress, you need 1 5/8 yards (44″ or 54″ wide) muslin or other cheap fabric. (I got solid cotton that was on sale for $1.99/yd– no one will see this part)
  • For the skirt, 3 yards (44″ or 54″ wide) mid-weight fabric (I used a cotton duck that feels like canvas and claims to be soil resistant)

How To:

Cut out your pieces from the fabric:

  • For the deck, cut from the muslin a rectangular panel 29″ wide and 53″ long
  • For the skirt, cut 6 panels, each 30″ wide by 16.5″ long

Create a hem in each skirt panel by folding up one of the long sides 1/2″ and pressing, and then folding that up again and pressing:

Sew along the upper edge of the fold, making sure to backstitch at the beginning and end of each hem:

Create a similar hem on the two short sides of each skirt panel by folding and pressing 1/2″, folding that up and pressing again, and sewing close to the inner edge of the folded portion. It may help to pin the corners where the fabric is bulky because of the bottom hem:

After you have hemmed the bottom and sides of each skirt panel, fold the deck lengthwise and gently press a crease down the center:

(Can you sort of see the crease in that picture? It’s basically just there to help you find the center of the short ends of the deck.)

Line up the center of one skirt panel with the center of the deck, right sides of each facing OUT. Pin. (The right side of my deck fabric was hard to see, as it was a solid, so you might want to use a disappearing ink pen to mark “right” on the right side of your deck fabric.)

Sew the two pieces together, sewing very close to the edge:

Press seam open:

Fold over, encasing the edge of the first seam within the fold. Press:

Stitch seam again, sewing close to the edge:

Press seam again, and you’re left with a nicely enclosed edge that won’t fray in the wash:

Repeat process to sew panel to other short end of deck.

Starting at one edge, line up the corner of one skirt piece with the corner of one long side of the deck, again both right sides facing OUT. Pin in place along edge:

(using a grapefruit to keep your fabric from sliding off your table is clearly optional but works great!)

Match the corner of another skirt panel up with the other end of this side of the deck and pin in place. The two panels will overlap in the center:

As with the short sides, sew very close to the edge, press seam open, fold over to enclose cut edges, and stitch again to create a French seam. Repeat on other side of the deck with the last two remaining skirt panels.

Iron out any creases your fabric has gotten throughout the process, and you’re FINISHED! Put your crib skirt on your crib and admire your handiwork:

Note: the skirt will not graze the floor when mattress is raised to the highest newborn position, but should fit nicely for all of the various mattress positions you’ll use as your baby grows.

If you make a crib skirt, I’d love to hear how it goes!

put a bird on it! DIY origami lamp and mobile

Are you ready for more of my baby room crafty craziness? Here it comes!

Origami has long been a hobby of mine, at least since high school. I find it repetitive, mindless, and relaxing, a great project to do with my hands while I watch TV. One year, while unemployed, I made a ton of origami Christmas ornaments, and was sure glad to have them as unbreakable ornaments this year when I first encountered the combo of Tinycat+Christmas tree. I knew I wanted to do something origami-related for Etta and Claire’s room, and after my success making an origami crane-covered lampshade for my friend Naomi, I decided to DIY another origami crane lamp. Consider this a bit of an origami crane lamp tutorial.

First: you need a LOT of origami cranes. Obviously this varies depending on lampshade size, but I’d say at least 200, maybe more. (If you don’t know how to fold a crane, I highly recommend YouTube. It’s so much easier when you can watch someone’s hands actually folding instead of trying to decipher diagrams.)

A lot of evenings were spent in the recliner with Tinycat folding cranes. He wasn't very helpful, but he sure is snuggly!
I folded enough cranes to fill this bag, then got started and realized I needed about 50 more. This is why it's helpful to have more paper than you use, so if you fold more, they'll still match the rest of the group.
Then, hot-glue the cranes to your lamp all haphazard like.

I’m really proud of how the lamp turned out, and particularly in love with the cute turquoise base we scored on sale at Target for about $20. Here’s what it looks like in the girls’ room:

In the end, I actually had some cranes left, so I started thinking about what I could do with them and realized they’d be perfect for a mobile. I bought some small grapevine wreaths from Hobby Lobby for $4 each to use as the base of the mobile, and picked up a $3 spool of crochet thread to string the cranes on. Other than that, I already had ribbon, cranes, and beads, so this ended up a very cheap project! I learned while making crane ornaments that a bead under the cranes keeps the knots in the string from pulling through the fragile paper, and I used a large needle to string the cranes onto the thread. I’m really proud of my finished mobiles and can’t wait to see them hanging over the cribs! (That will be a project for Jon. I have a feeling I should avoid ladders.)

Just for the heck of it, I decided to see if anyone on Etsy was selling anything similar. I told Jon, “I bet people would pay $30 for these!” Sure enough, the one origami crane mobile seller I found was selling hers for $28 apiece, and they didn’t even have cute nests/wreaths, just plain old hoops! Not bad for something made largely of things I already had!

nursery progress and a lamp DIY

To me, one of the more fun things about being pregnant is fixing up a room for the babies. I knew from the start I wanted to avoid having a “theme.” None of the rest of my rooms have a theme, so why should the babies’ room look any different? I wanted their room to look like it belonged with the rest of the house, and I knew I had to work with the navy blue floral wallpaper that we renters can’t change. So my goal was to incorporate lots of color and lots of handmade touches to make a room that goes with the rest of our house. I figured I’d share some of my progress so far:

The cribs are actually the only “new” thing in the photo, and they’re BabyMod from Walmart. Cribs were a tough decision for me, because I originally really wanted bright red cribs, which apparently do not exist. Then I thought I’d paint unpainted cribs, which also do not exist, unless I want to pay a zillion dollars or drive 4 hours to the nearest IKEA, which, it turns out, didn’t have the unpainted ones in stock anyway. So we ended up with gray cribs that actually blend surprisingly well with the aforementioned wallpaper. The dresser we already had, and there are three smaller nightstands in the room that we also already had. Even the rug was something we already had.

Early on, I decided moving our futon into the babies’ room made more sense than getting a glider, because this way, I could set the babies down on the couch, sit down in between them, and still feed them even if I were home alone. Also, the futon still functions as a place for guests to sleep, in case anyone wants to stay in a house of craziness, or for one of us to sleep in the room with the babies. It’s actually an espresso brown, I just have a sheet on it to protect it from Tinycat’s hair, since he likes to hang out in there.

To go on the futon, I made 4 throw pillow covers with fabric I happened to already have in my stash, that I think goes well with the rug:

And for Christmas, my dad made these four paintings to go on the wall: I think the animals are super cute, and he did a great job choosing colors that go with the other things in the room.

Now, while we’re not doing an animal theme, there will be some other animal touches, including some letterpress prints I already had around, and a vintage lamp my stepmom found at a flea market:

I immediately loved the little elephant, but knew I wanted to do something to spruce up his bland, faded shade. Initially, I thought of trying to cover the shade with the same fabric as the throw pillows, but since I’m making the girls an origami crane lamp like the one I made for my friend, I decided to incorporate the same origami paper I’m using for the cranes to make the two lamps “go” together. I cut each sheet of origami paper into 4 smaller squares and ModPodged them to the lampshade in a patchwork pattern. Then I glued some rickrack trim around the edges. I’m really proud of the results (though everything I ModPodge comes out a little wrinkly), and think the patterns of the paper echo the pattern of the wallpaper in a nice way:

I still need to figure out some sort of changing table/dresser, want to get an ottoman, need to hem curtains, and am planning to sew some crib skirts, among other things, but I’m pretty proud of how the babies’ room is looking so far. I don’t think it screams “baby” or “pretty pretty princess” but it’s still girly and fun and colorful. I can’t wait to get it finished!

i love lamp

One of my BFF’s (technically half of our BCFFL (Best Couple Friends 4 Lyfe)) is having a BABY GIRL!!!  We’re very excited for our friends, and I fully intend to be this kid’s Crazy Aunt Sarah.  My friend is a really awesome, creative, crafty, thrifting queen, so I knew I really had to step it up in the gift department.  You can check out her awesome Etsy shop of vintage treasures, if you want!

My friend and I looking cute on the Subway, sharing some tunes, on Jon's big 30th Birthday in NYC trip.

Ultimately inspiration struck in the form of this origami lamp from Sweet Sweet Life, which I think I originally found via Apartment Therapy’s Ohdeedoh.

image via Sweet Sweet Life.

That lamp was inspired by a lamp that costs over $210.  And I thought, I have origami skills! I could do that! $200+ is ridiculous! Though I’ve been into origami for a while, I really honed my skills when I got laid off in October of 2008 and decided to use my abundant free time crafting origami Christmas ornaments.

The great origami Christmas ornament project of 2008. I made garlands out of tiny boxes, ornaments out of cranes...
...and origami ball ornaments.

Of course, I wouldn’t just make a giant origami lamp for someone’s nursery without asking, but I remembered my friend liking the lamp when I posted about it on Facebook.  So I shot her a quick note and asked if she’d be interested in an origami lamp for the baby’s nursery, and she said sure! I inquired about the color scheme: “i’m planning on doing olive green, lime green, fuschia, light pink, lemon drop yellow and lots of wood grains, burlap and galvanized steel (like those buckets)… if that helps”

So I headed off to Hobby Lobby, where, to my luck, scrapbooking paper was on sale for half off! I selected a variety of large squares, which are normally $0.59 apiece, in the colors she had mentioned, supplementing with traditional origami paper in coordinating colors.  After that came the folding. Holy crap, what a lot of folding.  I’d say it takes about 250 cranes to cover a typical lamp shade.  Luckily, it’s an activity you can do in front of the TV, and luckily for me, Jon knows how to fold cranes, and he helped me with my folding load.  Still, I’d say it was about 12 hours of folding…so THAT’S why they cost over $200.  You can follow this tutorial video to learn how to fold an origami crane.

A big pile of cranes, ready to be hot-glued onto a lampshade from Target.

I applied the cranes to the lamp with a hot-glue gun, which took about 4 hours, during which time I watched “The West Wing” on my laptop– I’m newly hooked on the show, having missed it when it originally aired.

I'm going to let my friend choose whether to use this as a hanging lamp or on a standing lamp, so I put the shade on one of my lamps to show off the finished product.
Here's what it looks like with the light on.
Closeup of the cranes on the lamp. As you can see, I managed to find paper that actually looked like burlap and wood grain. I think I did a pretty good job coordinating with my friend's color scheme!

So, there you have it. The Coolest Lamp in the World. The World’s Most Ambitious Origami Lamp Project!  All you need is: a lamp shade, a glue gun, enough paper for around 250 cranes, and a crapload of free time.

%d bloggers like this: